------------WILL GO ON SALE SOON------------
Either through Ebay if your in Australia or order-able through pcbway.com
THE IDEA
These adapter PCBs allow the PS4 Pro and PS5 FAT consoles to change the LED colour by installing a small printed circuit board into the Consoles.
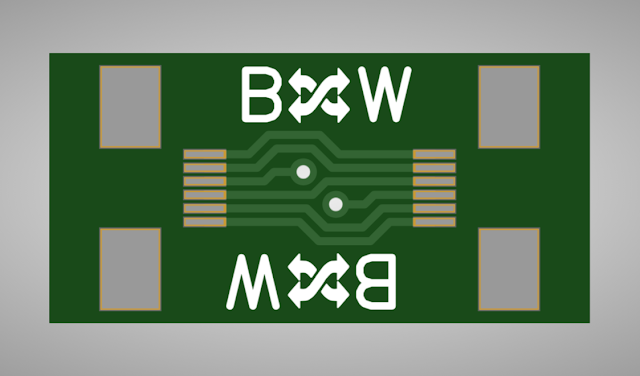
PCB 1 - Blue and White LED Swap:
This printed circuit board swaps the blue and white LEDs. The PS4 Pro and PS5 look better with the blue LED illuminating once the PlayStation has booted rather than the plain old white LED.
NOTE: The orientation it is placed in does not matter.
PCB 2 - Blue, White or Orange LED Swap:
This printed circuit board allows you to swap blue, white and orange LEDs colours around by bridging different solder points.
The solder points are in the 3 groups. .
The top group is for the boot (booting) LED. The middle group is for the idle (booted) LED. The bottom group is for the rest (sleep) LED.
The middle pad in each group is the PS4/PS5 status. It is what you bridge with another pad in that group to change the output colour of the LED
The three pads around the middle pad in each group defines what the output LED colour is. The top pad is for Blue. The Middle pad on the side is for White. The bottom pad is for orange.
Example: Boot = White, Idle = Blue, Rest = Orange (unchanged).
WARNING: Do not get the PCB orientation wrong as you might damage the PlayStation motherboard. The end of the PCB with the White "PS4" and "PS5" text connects to the PlayStation motherboard through the included 5cm ribbon cable. The side with the White "LED" text connects to the PlayStation's LED circuit board through the ribbon cable that came with the PlayStation.
NOTE: Although you can bridge multiple pads to get different colours in the same group you should avoid doing this.
NOTE: The soldering iron tip should be 0.5mm diameter or less to make the job easier.
NOTE: For my personnel PS4 Pro and PS5 FAT I have physically replaced the orange LED with a red LED and the white LEDs with a green LEDs. If you too choose to do this you also need to change the LED resistors.
INSTALLATION:
PS4 Pro:
1. Take off the PS4 Pro bottom housing.
2. Disconnect the LED ribbon cable from the motherboard.
3. Remove the double sided tape cover from the bottom of the LED PCB to expose the sticky surface.
4. Place the PCB in about the same position as in the picture below and connect up the ribbon cables as pictured. The 5cm ribbon cable was included with the PCB. The blue ends of the 5cm ribbon cable are to be both facing up toward you.
Blue and White LED swap PCB installed.
Blue, White and Orange LED swap PCB installed.
PS5 FAT:
Blue and White LED swap PCB installed.
FOR SALE:
eBay Australia:
Auction link to be added...
Purchase on pcbway.com:
You will purchase the bare the bare PCB and you will need to separately purchase and solder the two connectors.
You should purchase the PCB with a thickness of 1.0mm.
link to be added...
Parts Required:
- Two 6 pin 0.5mm pitch clamshell connectors. Cheap and common on eBay and Aliexpress
- 6 pin 0.5mm 5cm same side contacts ribbon cable


